*For an updated version of this, read DIY Glitter Heels Update*
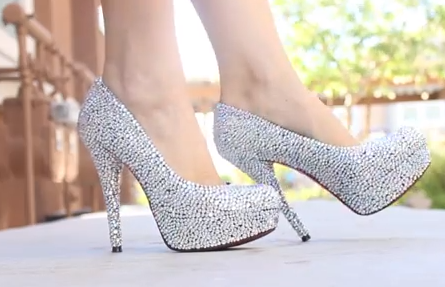
We all want a fabulous pair of wedding shoes that will make other girls swoon. Those Christian Louboutin's? Forget them! They can be upwards of $6,000! Ouch. I have some good news. You can make your very own Christian Louboutin worthy shoes. Here's how.
We all want a fabulous pair of wedding shoes that will make other girls swoon. Those Christian Louboutin's? Forget them! They can be upwards of $6,000! Ouch. I have some good news. You can make your very own Christian Louboutin worthy shoes. Here's how.
Materials
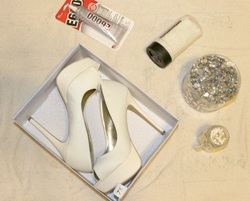
- Glitter ($3 at Hobby Lobby)
- Rhinestones ($15 for a pound at Hobby Lobby)
- Pair of shoes that need some pizzazz (I got mine for $32 at Payless)
- E 600 glue ($4 at Hobby Lobby)
- Paintbrush or Q-tips
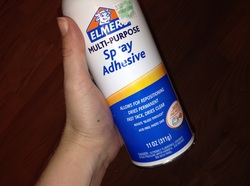
- Elmer's Spray Adhesive ($7 at Hobby Lobby)
- Towel or other surface to work on
How To
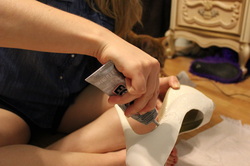
Step one:
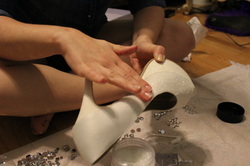
Take the E 600 glue and spread it on a small area of the shoe. Be careful! Once the cap is open the glue will flow out, so be sure to set the tube upright when not in use.
Take the E 600 glue and spread it on a small area of the shoe. Be careful! Once the cap is open the glue will flow out, so be sure to set the tube upright when not in use.
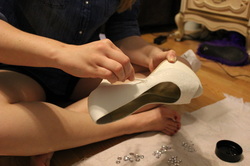
Step two:
Use a Q-tip or paintbrush to spread the glue evenly on that area.
*Pro Tip- paintbrushes work much better*
Use a Q-tip or paintbrush to spread the glue evenly on that area.
*Pro Tip- paintbrushes work much better*
Step three:
Take a generous amount of glitter and sprinkle it onto the glue. This gets messy! Be sure you are working over a surface that you can easily clean up or don't mind tossing out.
Take a generous amount of glitter and sprinkle it onto the glue. This gets messy! Be sure you are working over a surface that you can easily clean up or don't mind tossing out.
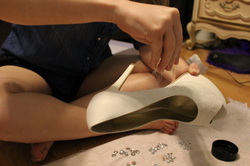
Step four:
Take your fingers and press the glitter into the glue. Add more glitter if you see any bald spots.
Take your fingers and press the glitter into the glue. Add more glitter if you see any bald spots.
Step five:
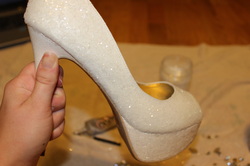
Repeat steps two-five until the entire shoe (minus the heel) is glitterfied.
Repeat steps two-five until the entire shoe (minus the heel) is glitterfied.
Step six:
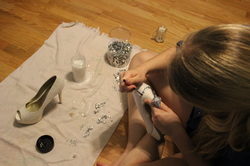
As the other shoe dries, begin adding rhinestones to the heel. To do this, use a small q-tip or paintbrush to dab glue on a small area.
As the other shoe dries, begin adding rhinestones to the heel. To do this, use a small q-tip or paintbrush to dab glue on a small area.

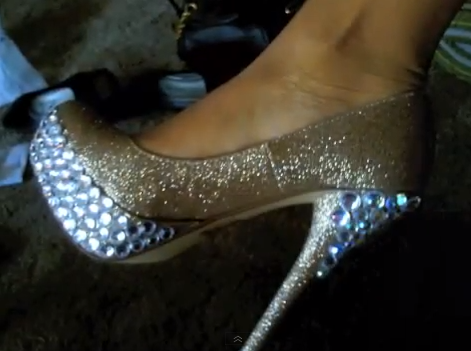
Step seven:
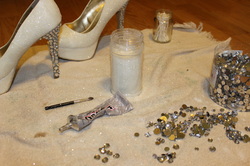
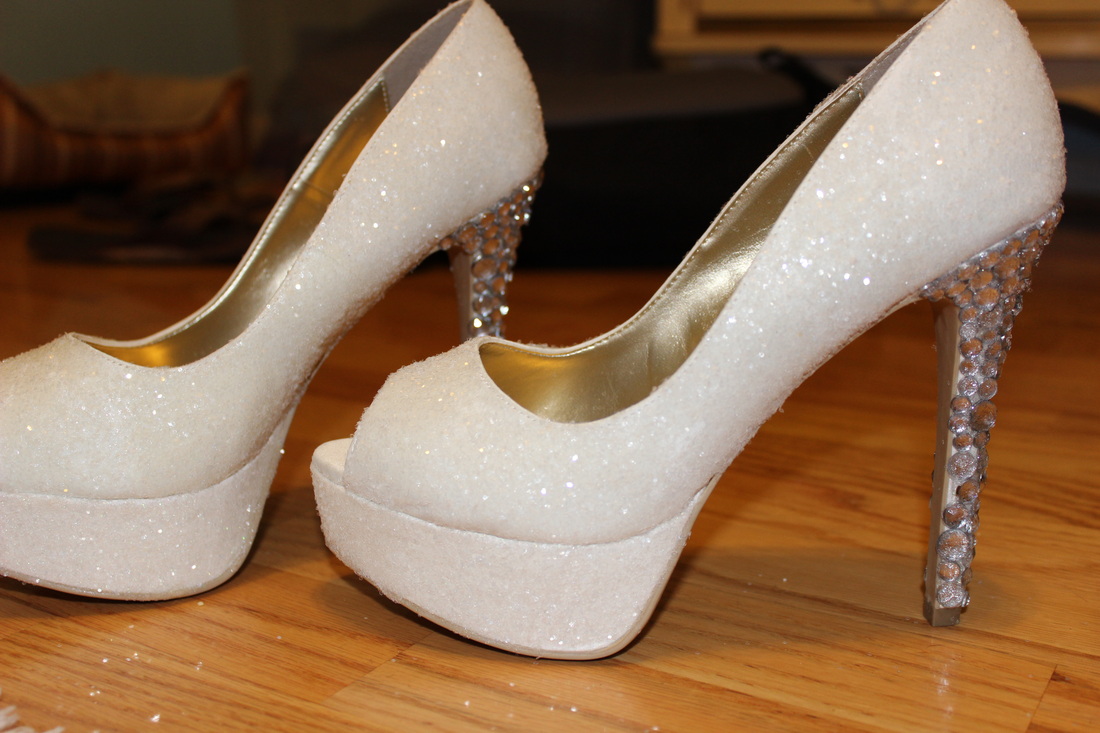
Take the rhinestones and place them on the glue. Do this until the entire heel is covered. You can use different sizes as I did or use one size.
Take the rhinestones and place them on the glue. Do this until the entire heel is covered. You can use different sizes as I did or use one size.
Step eight:
Repeat the above steps on each shoe until they are both made fabulous!
Repeat the above steps on each shoe until they are both made fabulous!
Step nine:
Wait 24 hours, then take the Elmer's Spray Adhesive and spray onto the surface of the shoe. This adds an extra layer of protection to prevent the glitter from falling off.
Wait 24 hours, then take the Elmer's Spray Adhesive and spray onto the surface of the shoe. This adds an extra layer of protection to prevent the glitter from falling off.
Bonus Tips
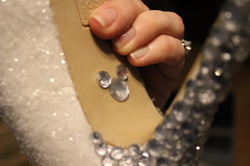
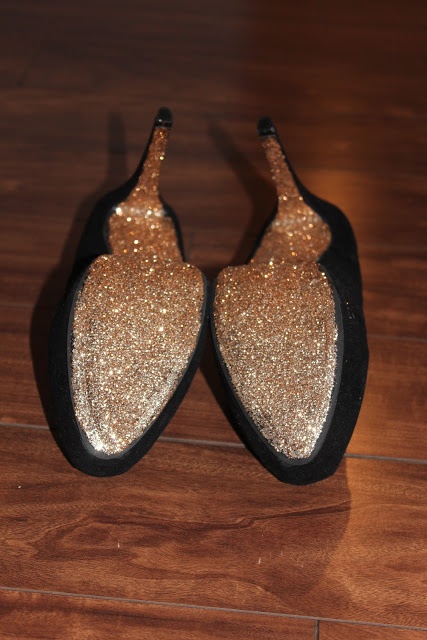
Feel free to decorate the bottom of your shoes too! This makes for a great photo opportunity the day of your wedding. Since I'm obsessed with Disney (and proud of it), I added some rhinestone Mickey Mouse ears to the bottom of my shoes. Perhaps you want your wedding date, or "I Do." Personalize it!
Enjoy Those Unique Beauties!
Total Cost
Shoes: $32
Materials: $24
I purchased the largest option of each material just in case my bridesmaids wanted to amp up their own shoes. Otherwise the cost would be much less! Not too shabby!
Materials: $24
I purchased the largest option of each material just in case my bridesmaids wanted to amp up their own shoes. Otherwise the cost would be much less! Not too shabby!
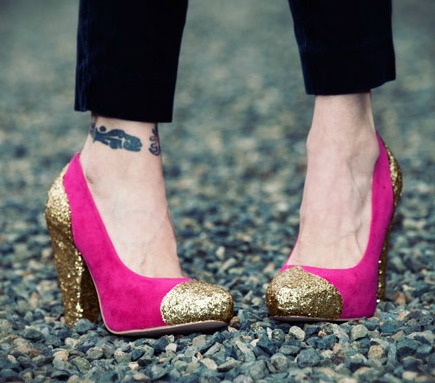
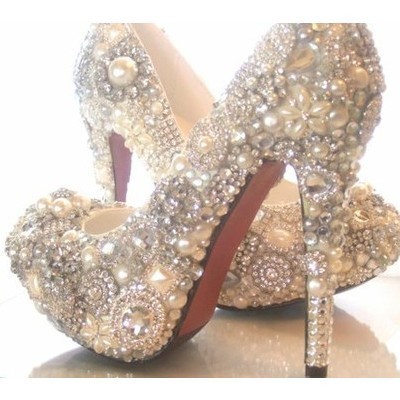
Other Fun DIY Styles
If you don't like the shoes I made (no hard feelings), there are several different ways to spruce up those pumps. Get inspiration from these fabulous diy shoes!

Want to show off your diy pumps? Share a picture with me!
- Adina
 RSS Feed