 thesecretlifeofinvites.com
 Pinterest is going through a sort of chalkboard sign faze. And why shouldn't pinners share the idea? It's adorable! Unfortunately not a ton of people know how to do it. That's where I come in. Here's an easy how to tutorial for you!
First Things First:
Wear old clothes! You'll be so mad at yourself when you spill, splatter, drip, or smear paint on your favorite pair of jeans.
First Things First:
Wear old clothes! You'll be so mad at yourself when you spill, splatter, drip, or smear paint on your favorite pair of jeans.
Materials and Prices
- Chalk ($2 for 4 pack at Hobby Lobby)
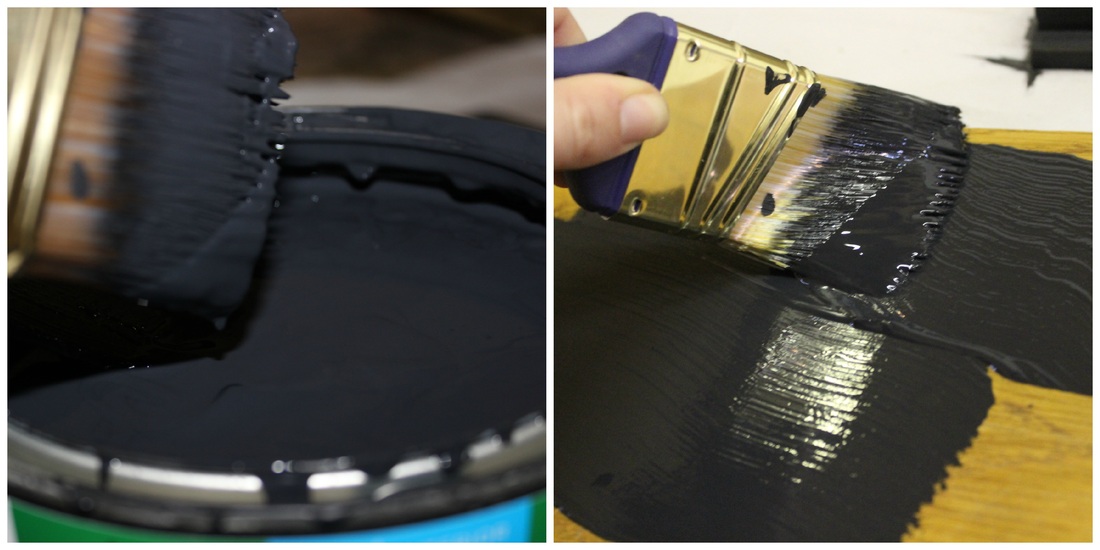
- Black Paint ($14 for gallon of Valspar 4000 matte black paint at Lowes) * A gallon might seem like a lot, but I had 18 cabinet doors to paint two coats of paint on the front and back. If you plan on doing one or two signs, purchase a smaller amount. Also, this type of paint, rather than an acrylic or other craft paint, will last me. If I need to do touch ups on the signs 10 months from now, I know the paint won't dry up. *
- Paint Brush ($6 for Blue Hawk Angled Brush at Lowes)
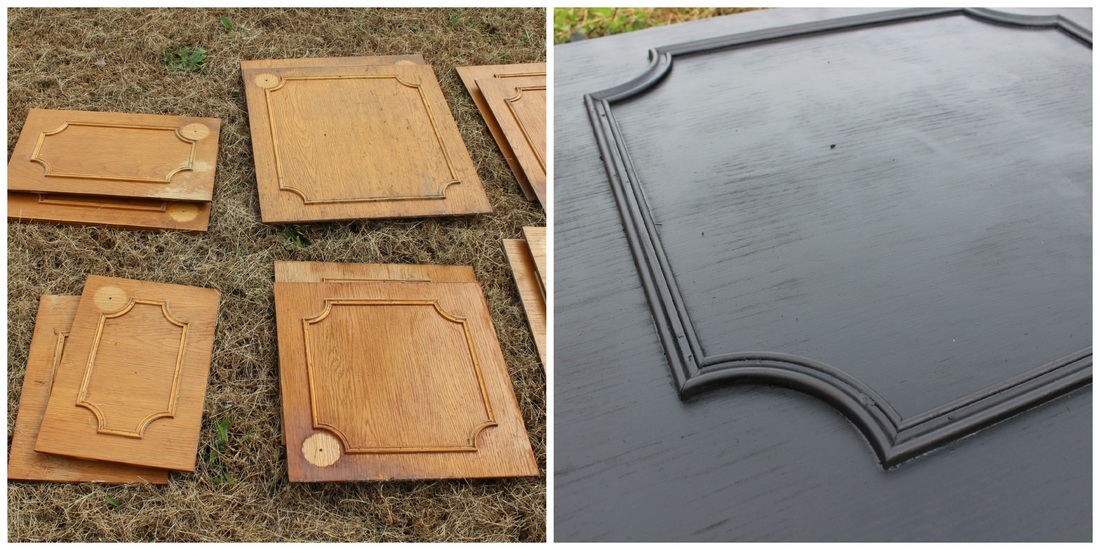
- Signs * These can be any material you wish such as card board or foam board. For a modern rustic look, I reused some old kitchen cabinets from a house my family is renovating.*
- Sharpie White Paint Pen ($5 for 2 at Staples) * Acrylic paint and a thin paint brush will work too ($3 for a large bottle of paint and $5 for an assorted pack of small paint brushes at Hobby Lobby).*
- Surface to Paint On (I purchased tablecloths for $1 each at Dollar Tree)
Total Cost: about $30. The fewer signs you have, the less it will cost. I purchased in bulk.
Directions
Step one:
Paint one coat of the Valspar 4000 paint onto the front and back of whatever you chose for your signs. If you used wood or another heavy material, paint two coats to ensure none of the surface shows through.
Paint one coat of the Valspar 4000 paint onto the front and back of whatever you chose for your signs. If you used wood or another heavy material, paint two coats to ensure none of the surface shows through.
Step two:
Let dry, then touch up any areas that you missed. Pretty right? I must admit, this took me a few days, but I got there!
Let dry, then touch up any areas that you missed. Pretty right? I must admit, this took me a few days, but I got there!
Step three:
This part is tricky and takes some time and effort.
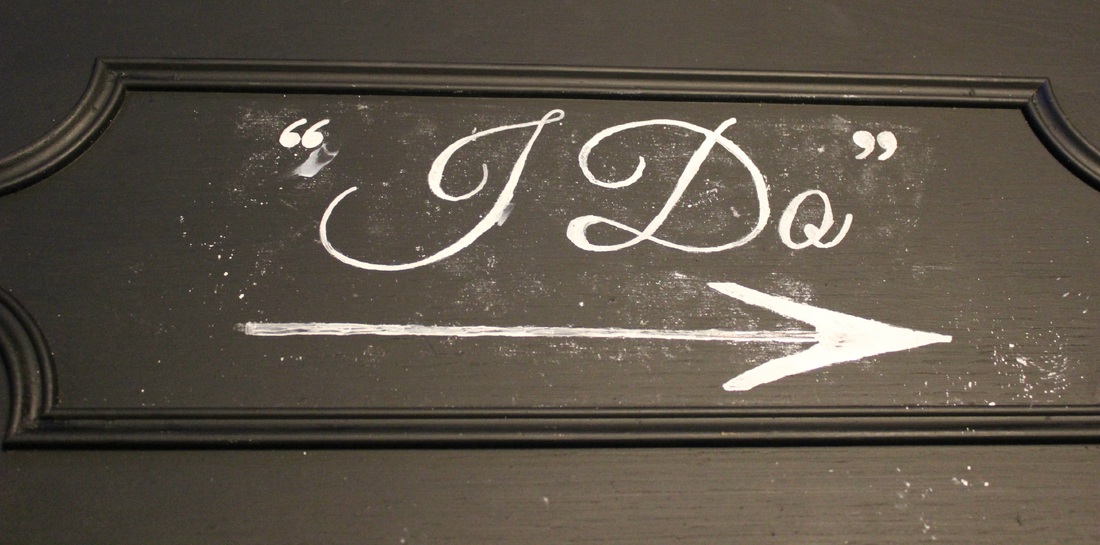
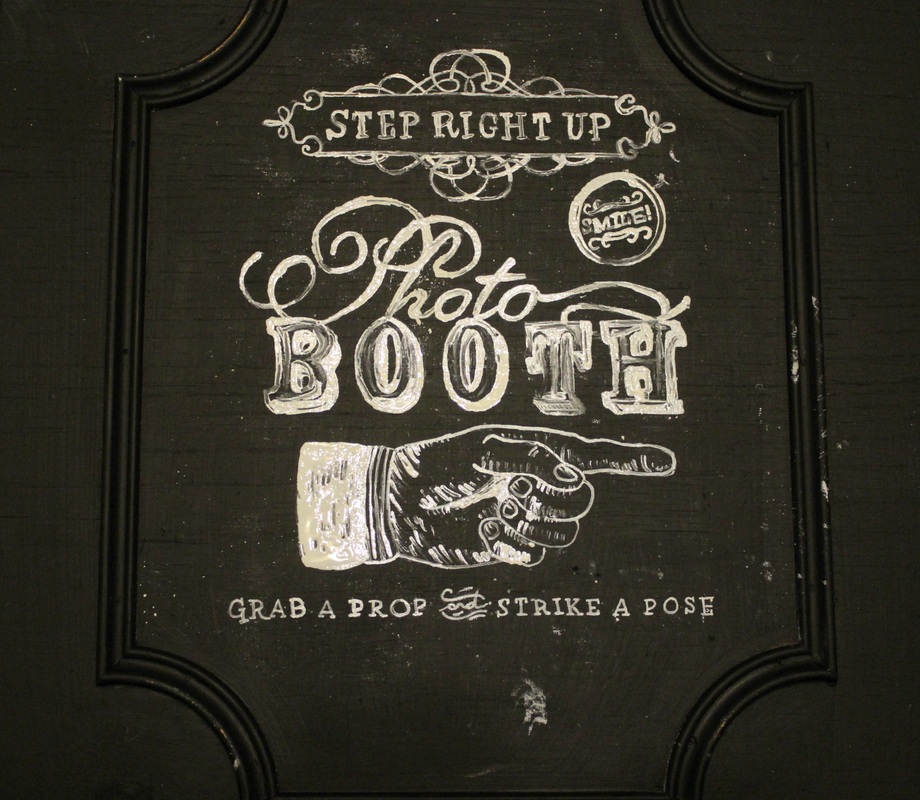
Below are some of the ones I created, save for the photo booth sign which was created by Enchanted Prints. You are more than welcome to use them!
This part is tricky and takes some time and effort.
- If you're not sure what you want, get inspiration from these signs on Pinterest and Google Images.
- Use Microsoft Word or another program to begin creating what you want on your signs.
- If you can't find the perfect font, try sites like Font Squirrel and download free fonts. This is where the one I used, Good Vibes, came from.
- Play around with the size of your design to make sure your design fills the space you want filled.
Below are some of the ones I created, save for the photo booth sign which was created by Enchanted Prints. You are more than welcome to use them!
|
| ||||||||||||||||||||
Step four:
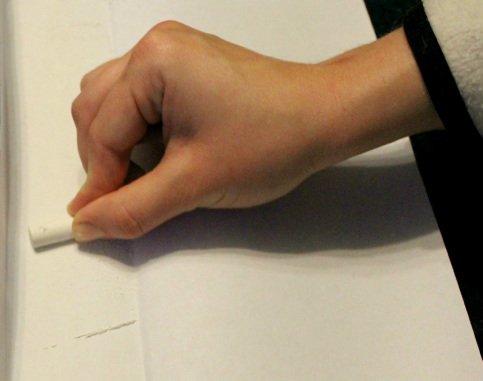
Once you've printed a design, rub the back of the paper with a piece of chalk. Make sure the entire area is covered.
Once you've printed a design, rub the back of the paper with a piece of chalk. Make sure the entire area is covered.
Step five:
Using a pencil, trace the outline of the image onto the surface of your sign. Make sure you press down hard so the outline transfers.
Using a pencil, trace the outline of the image onto the surface of your sign. Make sure you press down hard so the outline transfers.
Step six:
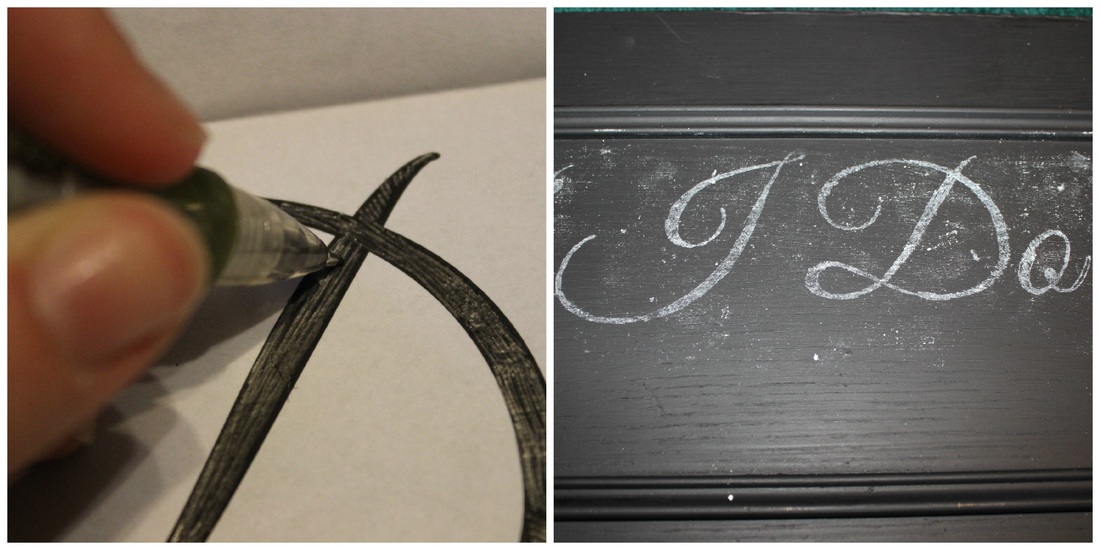
Use the paint pen to fill in the outline. This will ensure that your sign will last while maintaining that chalkboard feel.
Use the paint pen to fill in the outline. This will ensure that your sign will last while maintaining that chalkboard feel.
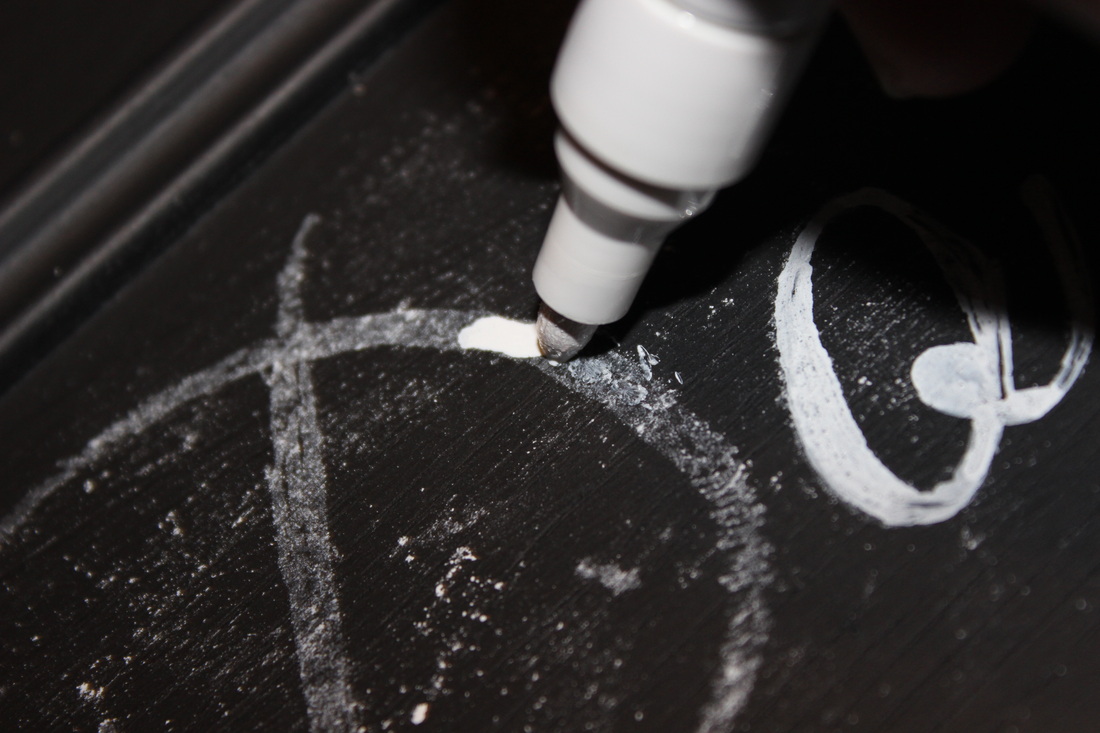
Step seven:
Once the paint dries, gently wipe the excess chalk away with a cloth. If you acidentally drew outside the lines or smeared paint, use the black paint and a small paint brush to clean it up.
Once the paint dries, gently wipe the excess chalk away with a cloth. If you acidentally drew outside the lines or smeared paint, use the black paint and a small paint brush to clean it up.
That's It!
As you can see, I'm not near finished. These are the only three I've done so far and I have yet to touch up on them. This project takes time, concentration and effort depending on the type of design you are doing. I'm not going to lie, the photo booth sign was absolute torture to paint. Good luck!

- Adina
 RSS Feed